Disclaimer: Please note that the Squarespace user interface undergoes regular updates, and as a result, the appearance of any video or article may differ from the actual user interface. However, the provided instructions will still be applicable and relevant to your Squarespace/Ylopo Branded Site experience.
The initial step is to log in to the Branded site. Here's a guide on how to log in to your Branded site.
Single property pages are a great way to feature listings you want to showcase on your site before they are available on your MLS.
Begin in the edit menu under the "Not Linked" section of your Branded Site configuration. Doing this keeps your work from displaying on your front-facing site until you are ready to publish the page.
Guide to Creating a Single Property Page and Adding Commission Percentage
Following the recent settlement by the National Association of Realtors (NAR), which has led to significant changes in real estate commission practices, we recognize the need to update commission percentages and other related information to align with the new guidelines.
For your Ylopo Home Search Site, we must ensure that we are compliant with the new guidelines based on the settlement requirements. We will implement updates to the Home Search Site as soon as the requirements are released.
In the meantime, you can create a Single Property page on the Branded Site. This page will allow you to include the commission percentage and other pertinent details of your choosing that meet your compliance. Ylopo cannot confirm your compliance requirements.
Steps to Create a Single Property Page:
Before you begin, ensure your content and images are ready. The steps align with those in the above video, with additional instructions in steps 4 and 5 for adding the commission percentage. If you've already watched the video, you can proceed directly to step 4.
To start, you will need to be logged in to the Branded Site. Here's a guide on how to log in to your site.
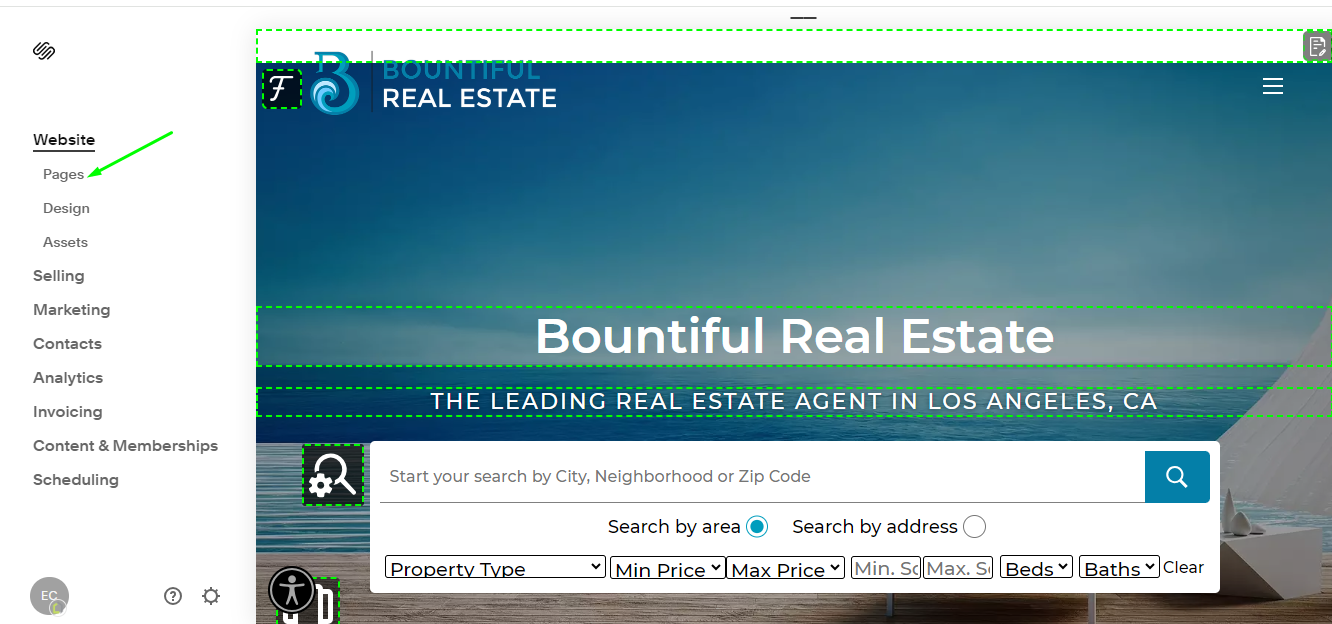
1. Click on Pages and scroll down to the Not Linked section.
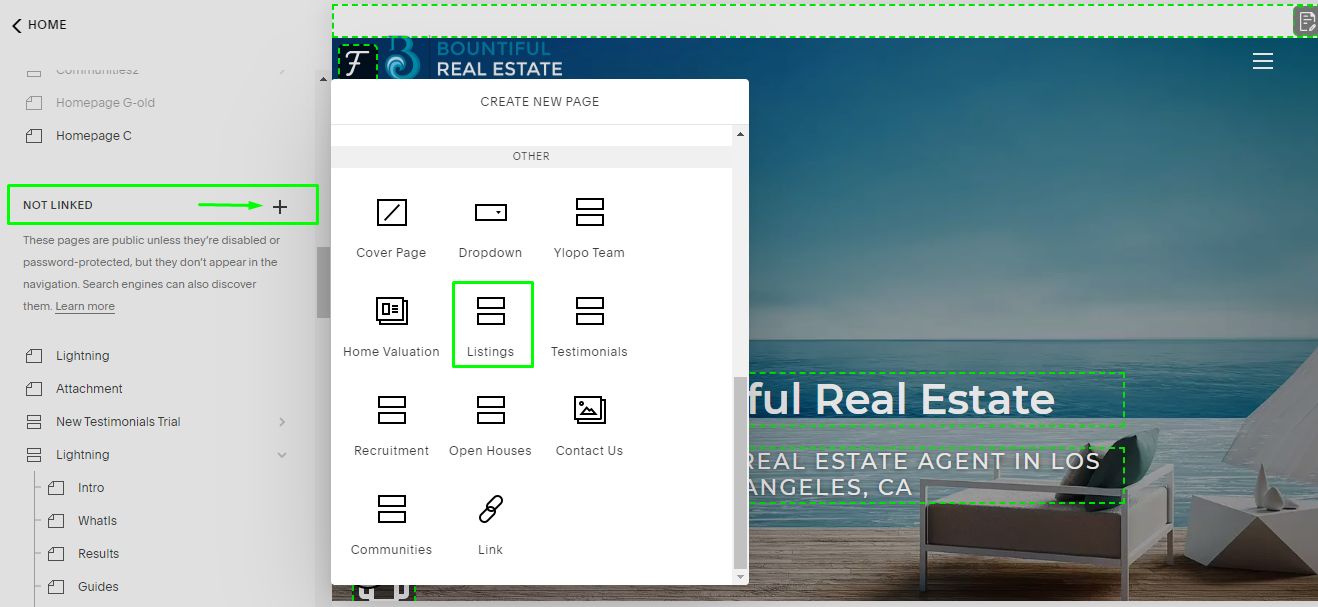
2. In the Not Linked section, click the plus sign and choose Listings from the options. You can name the page OUR LISTINGS or any name you prefer. This will be your album of properties.
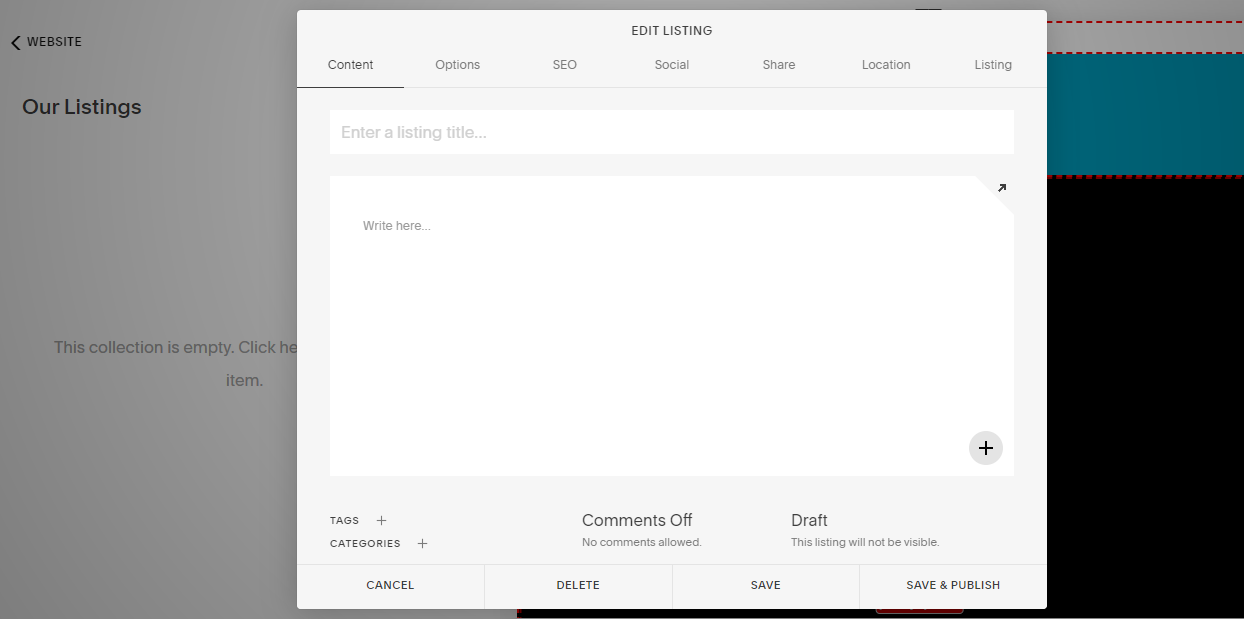
3. Once your "OUR LISTINGS" page is set up, click the plus sign button again to start adding a new entry. A box will appear where you can enter all the necessary details.
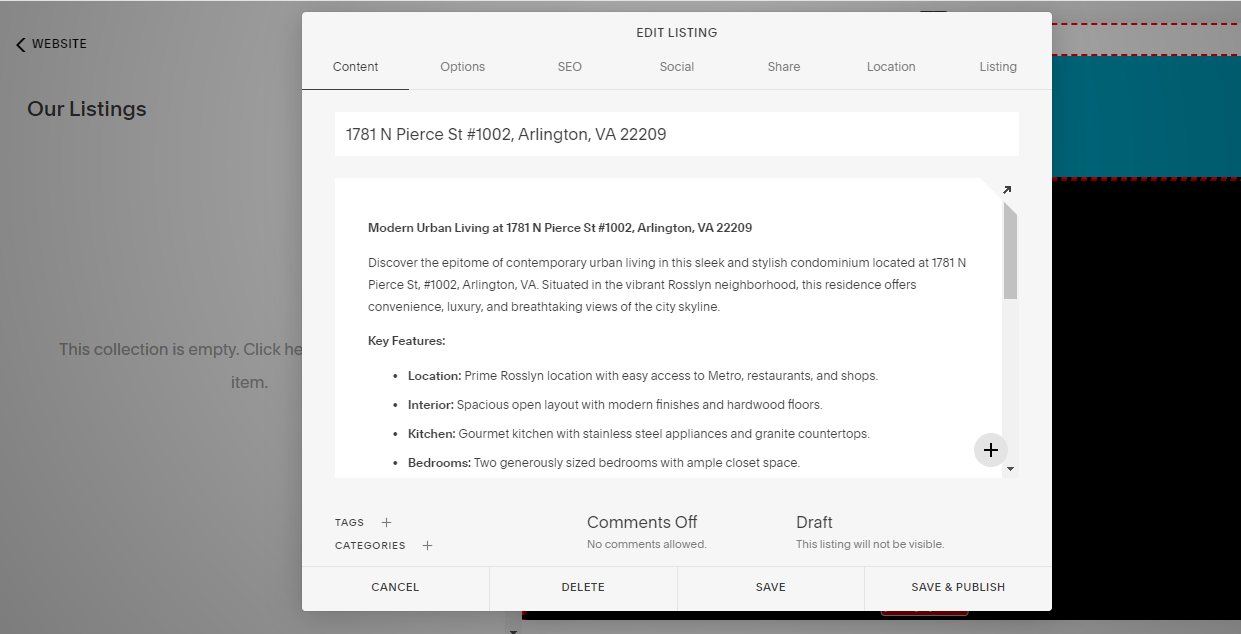
4. For step 4, let's delve into the options that you need to update in the EDIT LISTINGS BOX and how they can be utilized to update your property information.
In the Content section, you can add the title and description of your property listing. Typically, clients use the property address as the title. In the second box, paste the content you've prepared for the property listing description.
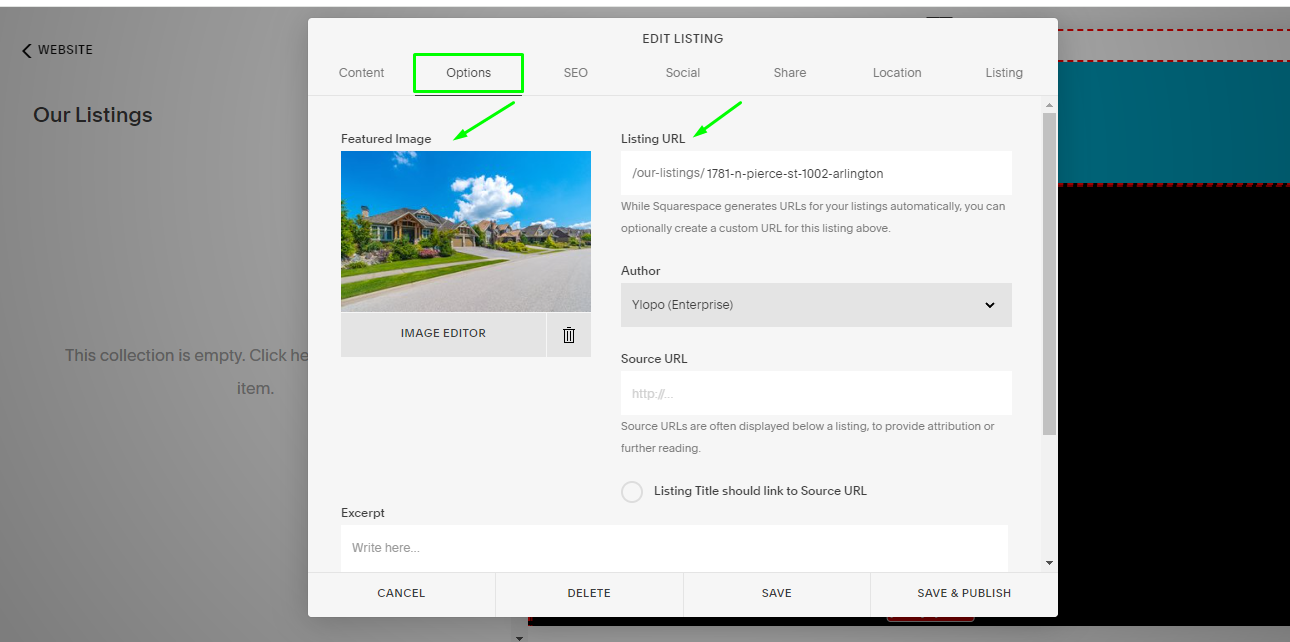
For the Options section, you can add the property’s featured image and update the Listing URL. In this case, you may use the property address for the Listing URL.
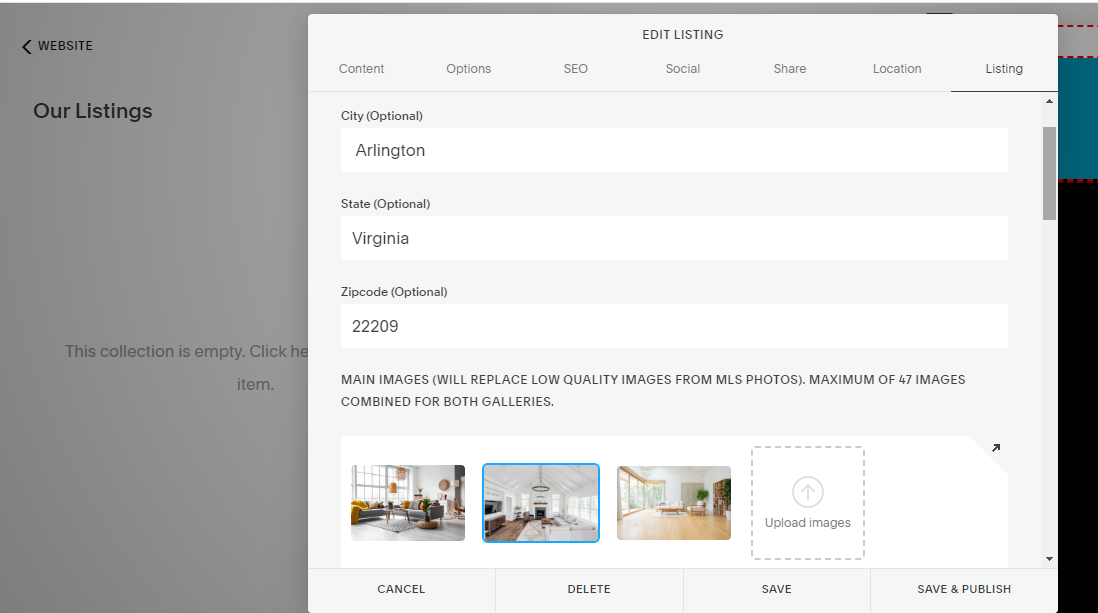
Next, update the LISTING option. Here, you can enter all the important property details and upload up to 47 pictures.
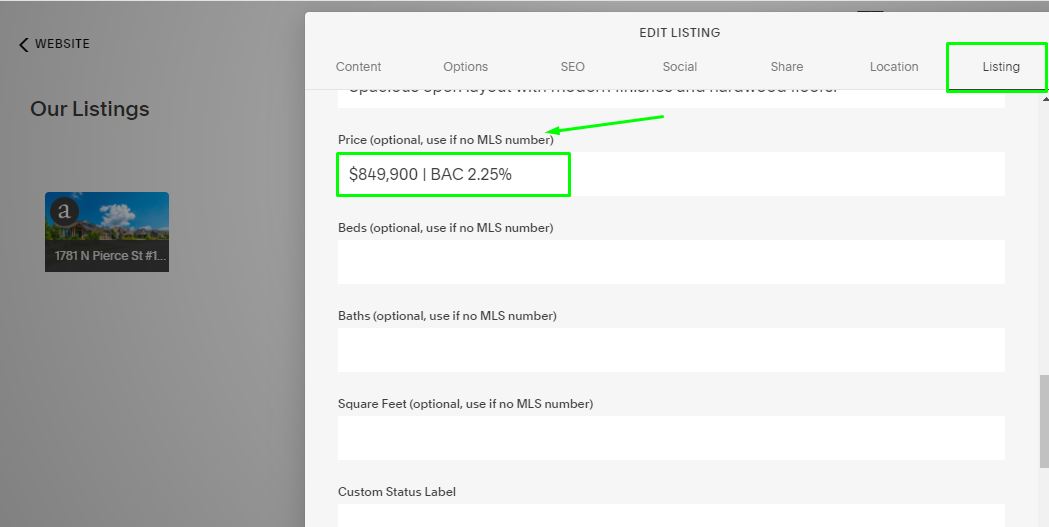
As you scroll further down, you'll find additional options to enhance your listing's appeal to clients. These include features like 'WHY WE LOVE IT' details and other important information, such as adding the Commission Percentage beside the property price.
To do the latter, you can easily separate the price and commission details using a pipe "|" or vertical line. Completing the descriptions in these boxes is straightforward and user-friendly.
Once you've finished, remember to review all the details and save your work by clicking 'Save and Publish.'
Your final entry for the price and commission percentage should appear like this on the Listing page banner.
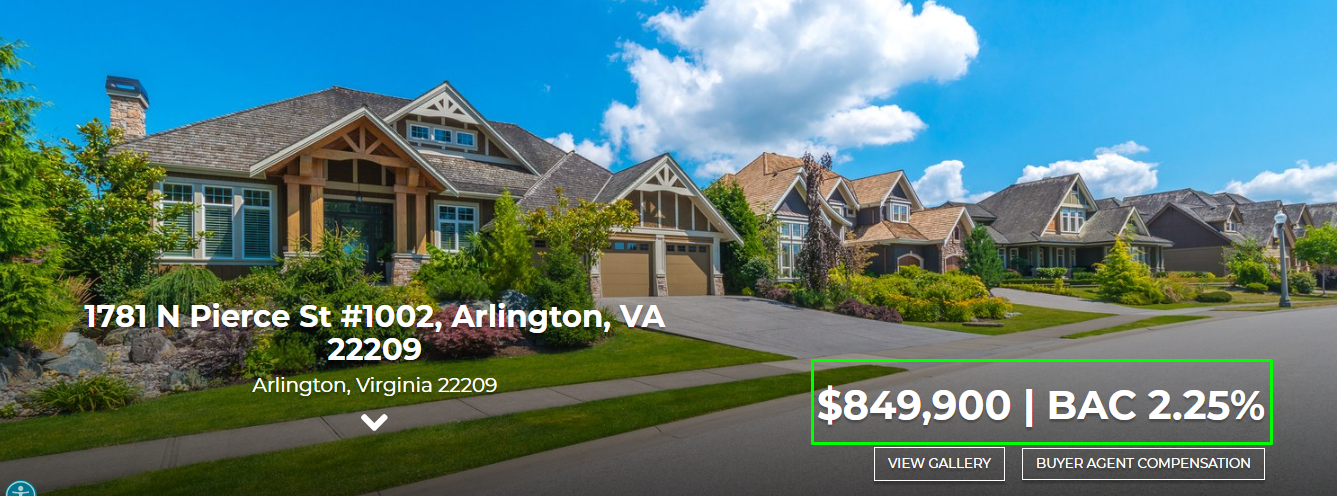
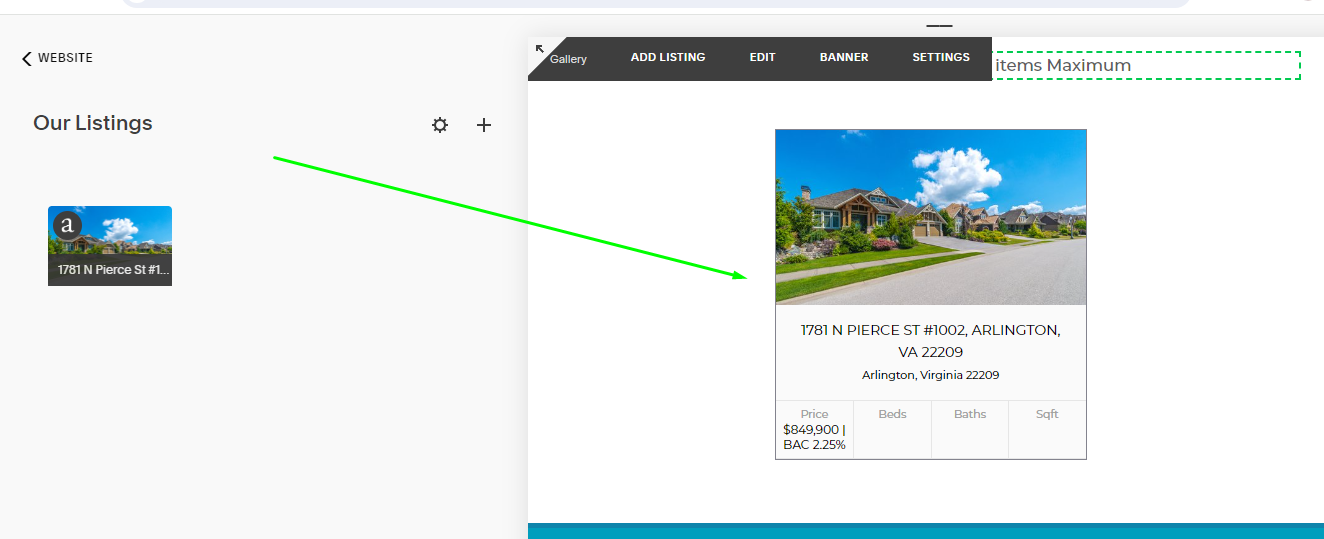
5. After saving, you'll find your completed property listing in your album.
To make further updates, simply click on the property page on the right side. This will take you to the edit mode of the property listing, where you can add more content and specify the commission percentage in another way.
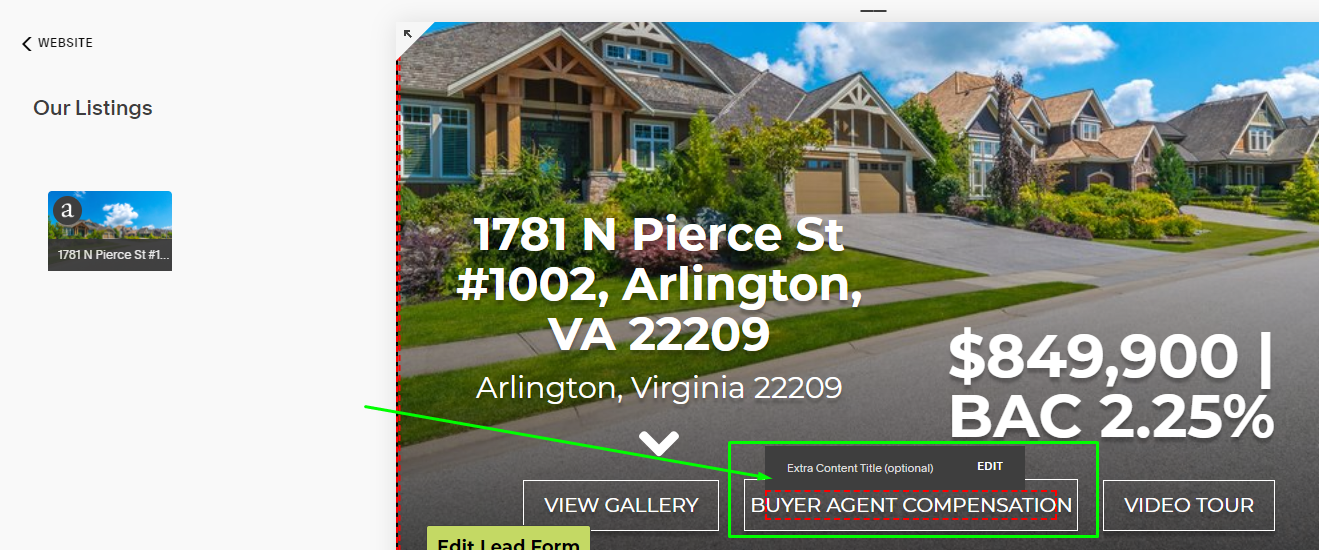
On the banner, you will find a button with an option to add extra content. Here, you can enter the text 'Buyer Agent Compensation' or another title of your choice. After entering the text, save by scrolling down until the save button appears.
When clicked, this button will direct clients to the Buyer Agent Compensation details on the same page, which we will add shortly.
Next, scroll down to the section of the page where you can see the 'Buyer Agent Compensation' text we just added. Below that, click 'Edit' to add additional content; this is where we will include the percentage information.

Comments
0 comments
Please sign in to leave a comment.